October 2021
Following the complete revision of my instructions/tutorial for installing MVS 3.8j, I finally got around to installing BREXX370. Having been a user of REXX since the 1990s, I am glad to now have it available on my MVS 3.8j system. It is fairly easy to install, but I decided to document the process I used, hoping to encourage others to try BREXX370. The included documentation is excellent, and has been improved with the latest release [V2R4M0 March 2021].
The first version of these instructions were for release V2R2M1 [March 2020], and I have now updated the instructions for the current release: V2R5M0. There are only a few steps required to get BREXX370 installed and have your own first REXX script executing on your TSO terminal, so let us begin.
The instructions below are targeted specifically to an MVS system built following my instructions for installing MVS 3.8j, so if you are on another system, there may be a very few areas where adjustments are necessary. If you are running the Turnkey 4 system, BREXX370 should already be installed, making these instructions unnecessary.
BREXX370 is distributed from GitHub, so the first step is to download the latest archive: wget https://github.com/mvslovers/brexx370/releases/download/V2R5M0/BREXX370_V2R5M0.zip. Please note that this is the latest as of the date I am writing this, so you may need to verify the actual link to download the current release archive at https://github.com/mvslovers/brexx370/releases. If you are installing a later release after previously installing BREXX370, just follow the instructions below and I will include notes where you may need to omit or add steps to effect the upgrade on your MVS system.
Unpack the archive on your computer. It contains a readme and nine well written documentation files in pdf format, and an XMIT file that you will upload to MVS: BREXX_V2R5M0.XMIT.
There are several methods that may be used to transfer an XMIT to MVS 3.8j, and I will briefly outline the steps for two of them here. Note: It is only necessary to use one of the methods below. Do not do both of them!
My personal preference is to use the second method, simply because it accomplishes the task in one step, rather than two, and the XMIT file will upload faster through the card reader than when using IND$FILE.
The first method is a two step process: 1) upload the XMIT file using IND$FILE and, 2) unpack it using RECV370. If you haven't used IND$FILE to transfer files between your host Operating System and MVS running under Hercules, I have written a short tutorial about that at IND$FILE: Transferring Files Between MVS and the Host OS.
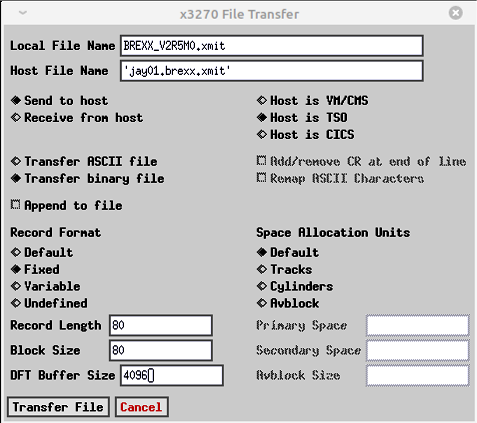
Initiate IND$FILE with your tn3270 client. Type the path and name of the BREXX370_V2R5M0.XMIT file on your host Operating System into the Local File Name field. Type in the name of the dataset on MVS to receive the XMIT file into the Host File Name field. The dataset to receive the XMIT on MVS does not need to be allocated, IND$FILE will allocate it for you; however, the name you type must match the standards for file names on MVS in general and your MVS installation specifically. It will probably be best if the High Level Qualifier (the one to eight characters before the first period in the dataset name) are your TSO User ID. Select the Transfer binary file option. Under the Record Format options, select the Fixed option. Type 80 into the LRECL and BLKSIZE fields. Select Transfer File to upload the file from your host Operating System to MVS:
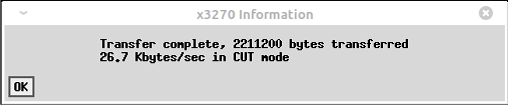
The transfer will only take a minute or so; on my system it took 83 seconds. A window will open during the transfer to show the progress, and upon completion you will see:
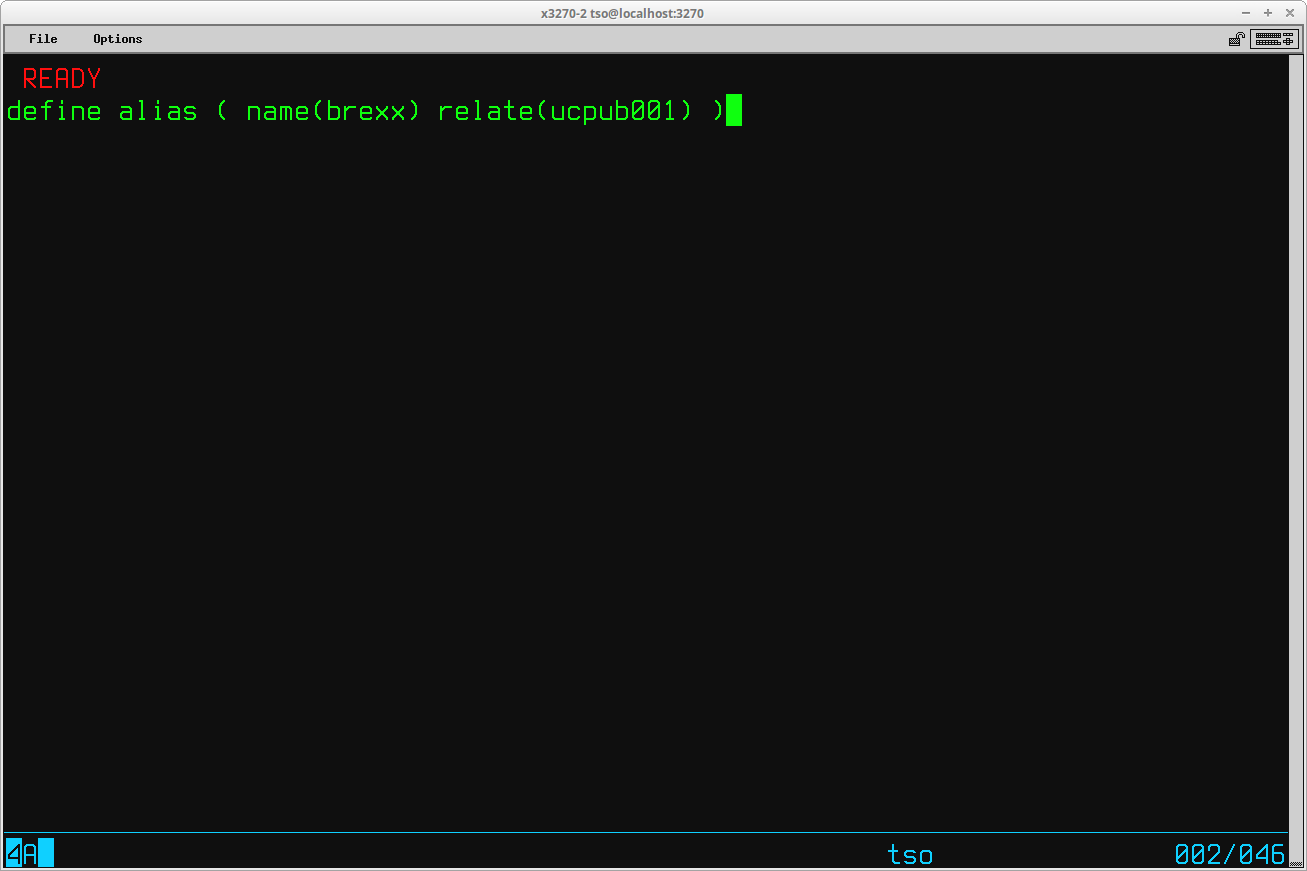
Before you unpack the archive on MVS, you must first create an alias for BREXX. If you have already installed a prior release of BREXX370 on your system, you will have already created the alias BREXX, so continue with Unpack BREXX370_V2R5M0.XMIT (below). All datasets related to BREXX will use BREXX as the High Level Qualifier and creating an alias will direct MVS to catalog the datasets in a User Catalog. At the TSO READY prompt, enter the command define alias ( name(brexx) relate(ucpub001) ) and press Enter:
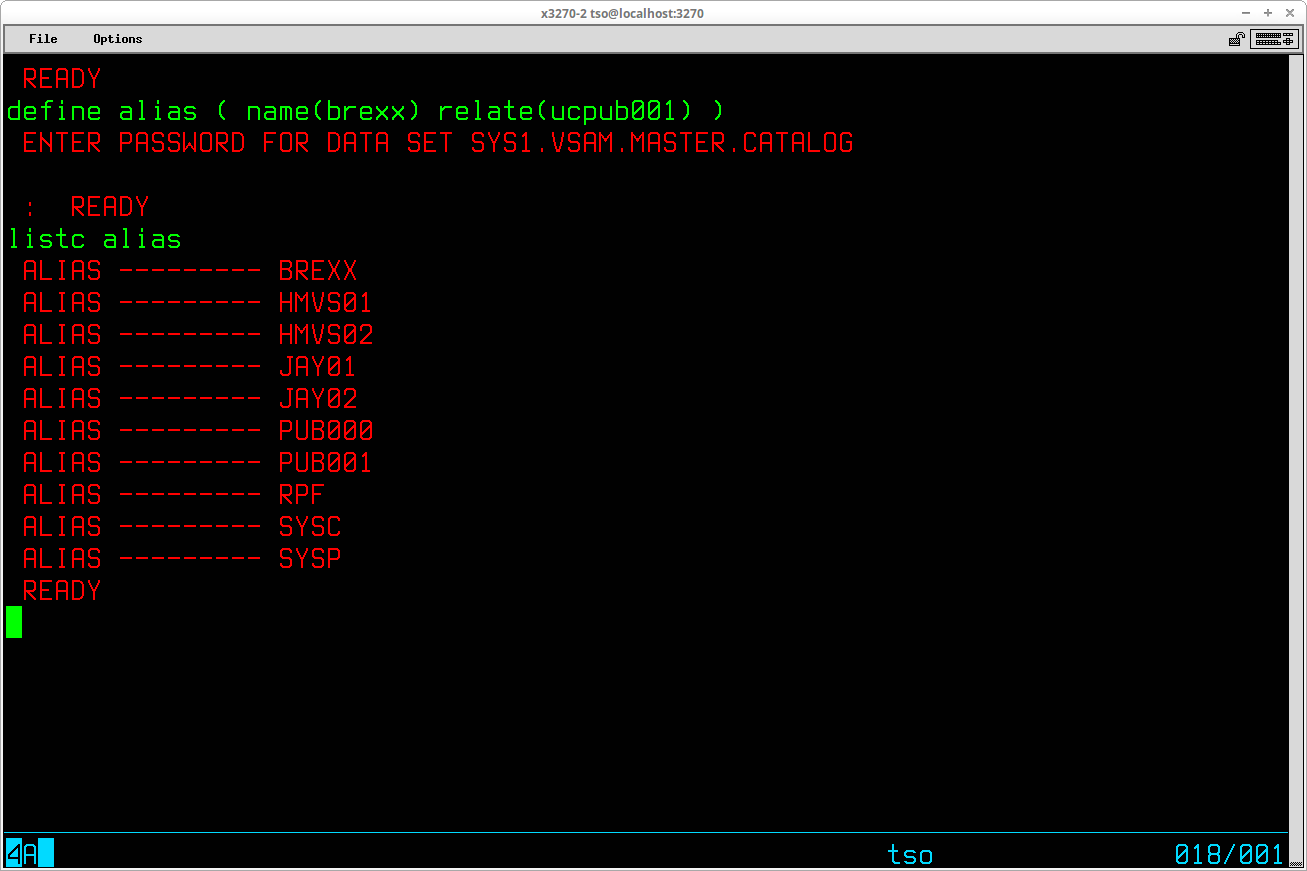
You will be prompted for the Master Catalog password. If you are using an MVS system generated using my instructions, the password is SYSPROG, so that is what you should type. If you are using another system, your Master Catalog may not require a password, or the password may be something else. To verify that the alias has been created, you can use the command listc alias:
As you see on the output above, the first alias listed is BREXX, so the alias has been created correctly.
Next you need to submit a job to use the program RECV370 to unpack the XMIT. If you do not know about XMIT format datasets, and the MVS programs to utilize them, I have written a short tutorial about that at Transmit and Receive.
There is a prototype job in SYSC.JCLLIB(RECV370) that may be quickly tailored to do this. Here is the completed JCL for the job:
In the JCL above, the input dataset (XMITIN DD statement), the dataset name - JAY01.BREXX.XMIT - is the name specified in the Host File Name field in the IND$FILE transfer panel; you will use the name you specified when you uploaded the file using IND$FILE.
The output dataset should be named BREXX.V2R5M0.INSTALL, as it will be referenced in the instructions below and is the name selected by the originator of BREXX370. The dataset will be placed on volume PUB001, which in my system is a 3390 DASD. It is important that the dataset be placed on a 3390 DASD as the dataset is tailored to fit on 3390 DASD tracks.
Note that I have added an override for the work dataset defined by SYSUT1 so that it is also allocated on PUB001. Because the dataset being restored from the XMIT file originated on a 3390 device, the work dataset must be allocated on a DASD that has a track size equal to, or larger than, that of a 3390. This is a temporary dataset that will be deleted at the end of the job, so it will not occupy space permanently.
Submit the job to MVS to unpack the XMIT dataset. The output from this job may be viewed at recv370.one.pdf.
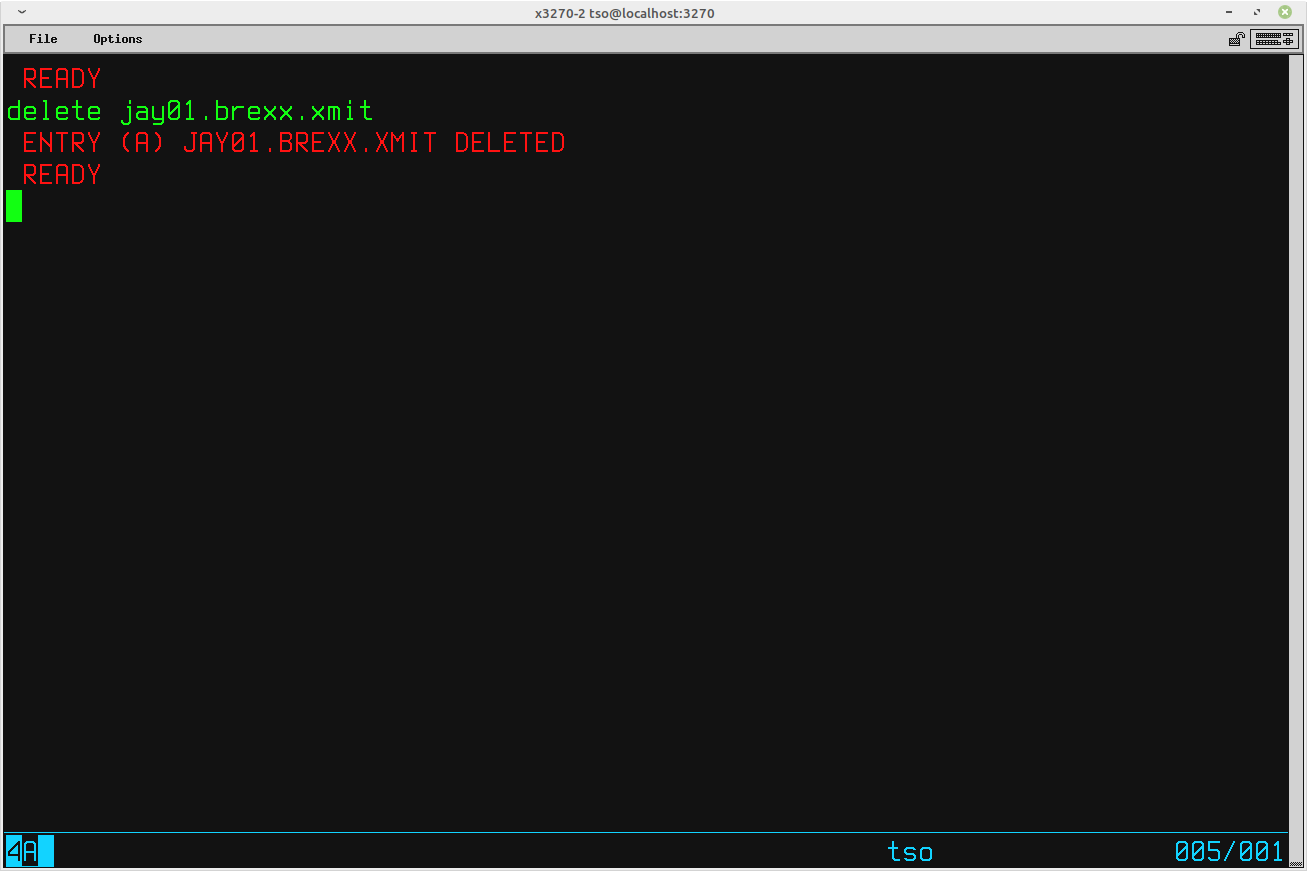
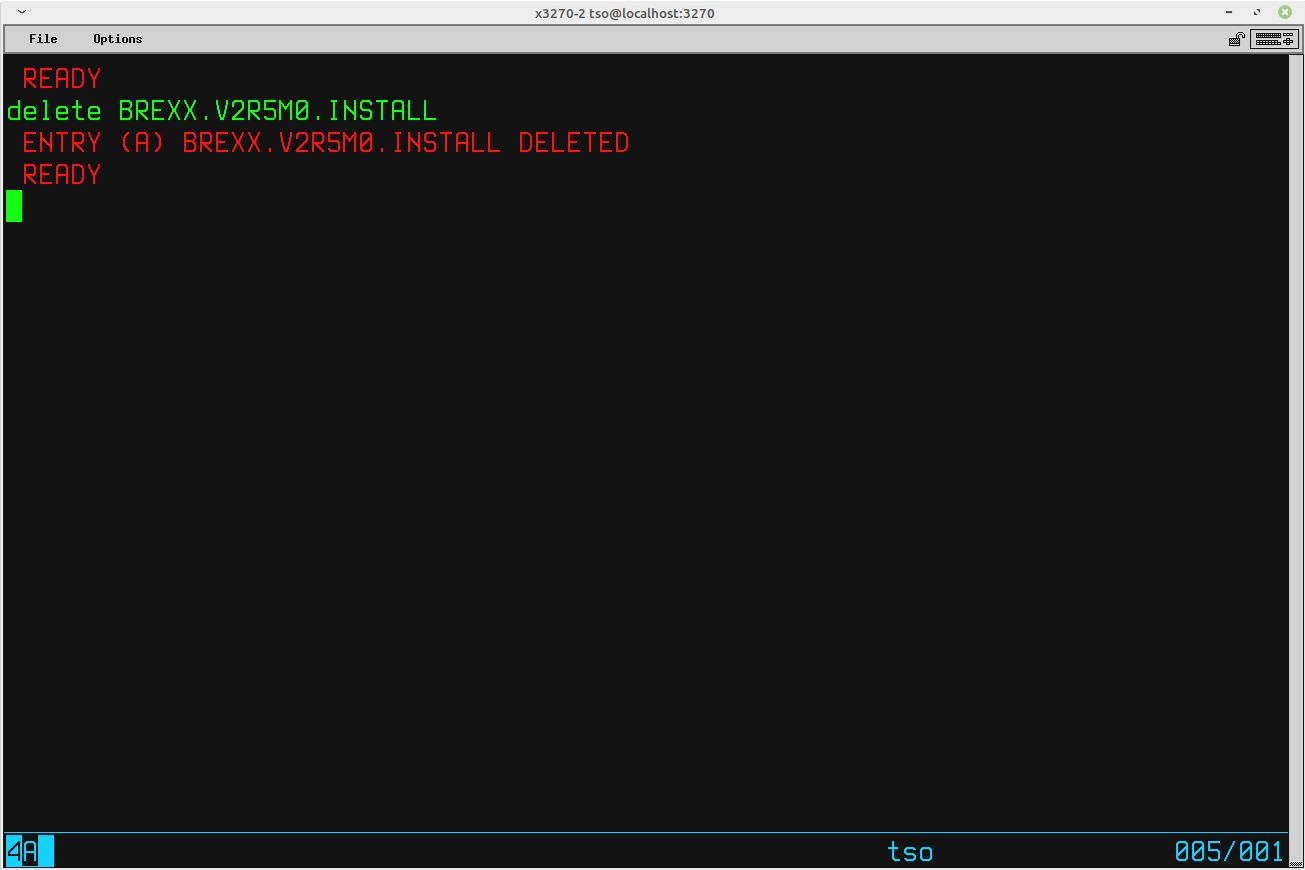
When this job completes successfully, you may delete the XMIT dataset:
You are ready to tailor the BREXX370 installation jobs, so continue with the step (below): Unpack BREXX370 Datasets.
The second method that may be used to transfer the XMIT file from the host Operating System to MVS is a single step process. You will use a job on MVS to transfer the XMIT into MVS, using an emulated card reader, and unpack the XMIT. If you do not know about XMIT format datasets, and the MVS programs to utilize them, I have written a short tutorial about that at Transmit and Receive.
Before you unpack the archive on MVS, you must first create an alias for BREXX. If you have already installed a prior release of BREXX370 on your system, you will have already created the alias BREXX, so continue with Unpack BREXX370_V2R5M0.XMIT (below). All datasets related to BREXX will use BREXX as the High Level Qualifier and creating an alias will direct MVS to catalog the datasets in a User Catalog. At the TSO READY prompt, enter the command define alias ( name(brexx) relate(ucpub001) ) and press Enter:
You will be prompted for the Master Catalog password. If you are using an MVS system generated using my instructions, the password is SYSPROG, so that is what you should type. If you are using another system, your Master Catalog may not require a password, or the password may be something else. To verify that the alias has been created, you can use the command listc alias:
As you see on the output above, the first alias listed is BREXX, so the alias has been created correctly.
Next you need to submit a job to use the program RECV370 to transfer the XMIT file to MVS and unpack it.
There is a prototype job in SYSC.JCLLIB(RECV370) that may be quickly tailored to the needed requirements. Here is the completed JCL for the job:
In the JCL above, the input dataset (XMITIN DD statement), you are specifying the exact address of a card reader that is emulated by Hercules. On the Hercules command window, initialize the card reader to point to the file on your host Operating System that holds the XMIT to be transferred. The Hercules command is devinit 01c <path>/BREXX370_V2R5M0.xmit ebcdic. You should specify the correct path to the file in place of <path> in the example command. Note: This command specifies address x'01c' which is the correct address for an MVS system built using my instructions. The address specified must match a device in your MVS system that is defined as a card reader and that card reader must not be managed by JES2. It is also imperative that you include the ebcdic operand to inform Hercules to not do ASCII to EBCDIC translation when the host Operating System file is read in.
The output dataset should be named BREXX.V2R5M0.INSTALL, as it will be referenced in the instructions below and is the name selected by the originator of BREXX370. The dataset will be placed on volume PUB001, which in my system is a 3390 DASD. It is important that the dataset be placed on a 3390 DASD as the dataset is tailored to fit on 3390 DASD tracks.
Note that I have added an override for the work dataset defined by SYSUT1 so that it is also allocated on PUB001. Because the dataset being restored from the XMIT file originated on a 3390 device, the work dataset must be allocated on a DASD that has a track size equal to, or larger than, that of a 3390. This is a temporary dataset that will be deleted at the end of the job, so it will not occupy space permanently.
Submit the job to MVS to transfer the XMIT dataset to MVS and unpack it. The output for this job may be viewed at recv370.two.pdf.
You are ready to tailor the BREXX370 installation jobs, so continue with the step (below): Unpack BREXX370 Datasets.
The dataset that has been created - BREXX.V2R5M0.INSTALL - contains additional datasets in XMIT format, plus jobs to unpack them and complete the installation of BREXX370.
Tailor the job $UNPACK, contained in the dataset BREXX.V2R5M0.INSTALL. Edit the jobstream, using RPF or RFE to make the following changes:
- Add a STEPLIB card to enable the RECV370 program to be executed from SYSC.LINKLIB. This change is only required if you are using a system built from my MVS 3.8j installation instructions and have installed the SYSCPK volume. This card should be added immediately following the STEP20 EXEC card:
//STEPLIB DD DISP=SHR,DSN=SYSC.LINKLIB
- Add an account number to the JOB card and change the MSGCLASS from H to X
Before: //BRXXUNP JOB 'XMIT UNPACK',CLASS=A,MSGCLASS=H
After: //BRXXUNP JOB 1,'XMIT UNPACK',CLASS=A,MSGCLASS=X
- Add VOL=SER=PUB001 to DD statements for both SYSUT1 and SYSUT2
Before: // UNIT=3390,
After: // UNIT=3390,VOL=SER=PUB001,
Submit the job. The return codes for the steps of this job will alternate between 0004 and 0000, which is expected. The output from this job may be viewed at brxxunp.pdf.
With this version of BREXX370, there are two installation libraries provided. The modules in one library - BREXX.V2R5M0.LINKLIB - are normal, unauthorized, modules, as they were in the prior releases. The modules in the second library - BREXX.V2R5M0.APFLLIB - are authorized, to be able to call other authorized modules. From the BREXX370 installation guide:
If you choose to install the authorized versions, you will need to add the BREXX modules to two tables, IKJEFTE2 and IKJEFTE8. It is relatively easy to make this modification, so I suggest that you choose to install the authorized BREXX versions. Then if you later find that you need to call an authorized module external to BREXX, you will be able to do so without having to first re-install BREXX. The instructions that continue below will result in the installation of the authorized BREXX modules.
If you are using a system built using my Installing MVS 3.8j instructions, the first User Modifications meta job - USERMODS1 - contains two jobs that install the the two TSO authorization tables. I have extracted the JCL for the two jobs and placed them into a single file. You may download this JCL file from tetables.jcl. I have added the names of the BREXX modules to the tables in the assembler source, following the instructions in the BREXX370 installation guide. If you submit this jobstream, two jobs will run that will update the two tables, IKJEFTE2 and IKJEFTE8. The output from the two jobs run on my system may be viewed at: jlm0003.pdf and jlm0004.pdf. The 0004 completion code is expected from the HMASMP step in each of the two jobs.
If you are running a system other than one built using my instructions, there will be a comparable process for updating these two tables. It will be necessary for you to consult the documentation for your MVS system to determine how to make the changes to these two tables.
Note: It is necessary to re-IPL MVS and respond r 00,clpa to the IEA101A SPECIFY SYSTEM PARAMETERS FOR RELEASE 03.8 .VS2 message in order to activate these modified tables. It is not necessary to do that immediately, as having the tables activated is only necessary before you call an authorized module from a REXX script.
Tailor the job $INSTAPF, contained in the dataset BREXX.V2R5M0.INSTALL. Edit the jobstream, using RPF or RFE to make the following change:
- Add an account number to the JOB card and change the MSGCLASS from H to X
Before: //BRXXINST JOB 'INSTALL LIBS',CLASS=A,MSGCLASS=H
After: //BRXXINST JOB 1,'INSTALL LIBS',CLASS=A,MSGCLASS=X
Submit the job. The return codes for the steps of this job will be 0000, which is expected. There will be some error messages issued in the output from the last step of this job. These messages are expected, as the datasets they reference are not present in an MVS system generated using my instructions. The task of this final step of the job was to delete prior versions of BREXX; since there is no prior version, it is irrelevant that the delete commands did not find a matching dataset. The output from this job may be viewed at brxxinst.pdf.
The final operation of the BRXXINST job issues commands to compress SYS2.LINKLIB and SYS2.PROCLIB. The commands issued do not exist in a system generated following my instructions, however you can compress these two libraries by entering on the MVS console the commands:
s compress,lib='SYS2.LINKLIB'
s compress,lib='SYS2.PROCLIB'
Tailor the job $TESTRX, contained in the dataset BREXX.V2R5M0.INSTALL. Edit the jobstream, using RPF or RFE to make the following changes:
- Add an account number to the JOB card and change the MSGCLASS from H to X
Before: //BRXXTEST JOB 'BREXX VERIFICATION',CLASS=A,MSGCLASS=H,MSGLEVEL=(0,0)
After: //BRXXTEST JOB 1,'BREXX VERIFICATION',CLASS=A,MSGCLASS=X,MSGLEVEL=(0,0)
- Change the REGION on the EXEC card in the instream PROC from 8192K to 7200K Note: If your system was generated using my instructions revised September 2020, it is not necessary to reduce the REGION.
Before: //EXEC EXEC PGM=BREXXSTD,PARM='EXEC &P',REGION=8192K
After: //EXEC EXEC PGM=BREXXSTD,PARM='EXEC &P',REGION=7200K
Submit the job. The return codes for the steps of this job will be 0000, which is expected. The output from this job may be viewed at brxxtest.pdf.
Tailor the job $CLEANUP, contained in the dataset BREXX.V2R5M0.INSTALL. Edit the jobstream, using RPF or RFE to make the following changes:
- Add an account number to the JOB card and change the MSGCLASS from H to X
Before: //BRXXCLEN JOB 'BREXX CLEANUP',CLASS=A,MSGCLASS=H,MSGLEVEL=(0,0)
After: //BRXXCLEN JOB 1,'BREXX CLEANUP',CLASS=A,MSGCLASS=X,MSGLEVEL=(0,0)
- Change the REGION on the EXEC card from 8192K to 7192K Note: If your system was generated using my instructions revised September 2020, it is not necessary to reduce the REGION.
Before: //TSOBTCH EXEC PGM=IKJEFT01,REGION=8192K
After: //TSOBTCH EXEC PGM=IKJEFT01,REGION=7192K
- Change the name of the APF link library
Before: DELETE BREXX.V2R5M0.APF.LINKLIB
After: DELETE BREXX.V2R5M0.APFLLIB
Submit the job. The return code for the single step of this job will be 0000, which is expected. The output from this job may be viewed at brxxclen.pdf
You no longer need the installation jobs, so you may delete the BREXX.V2R5M0.INSTALL dataset:
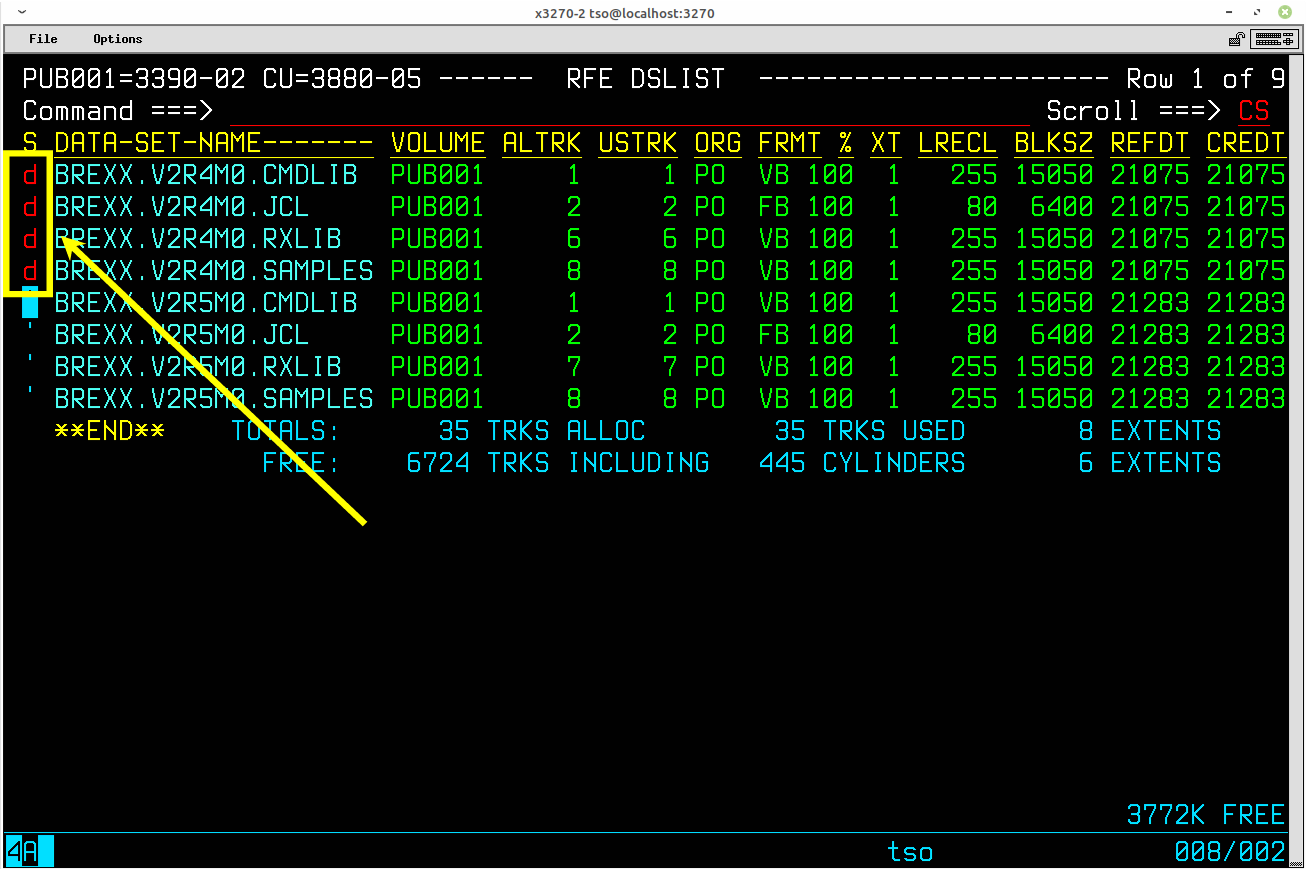
If you had a prior version of BREXX370 installed, you may delete the datasets associated with that version:
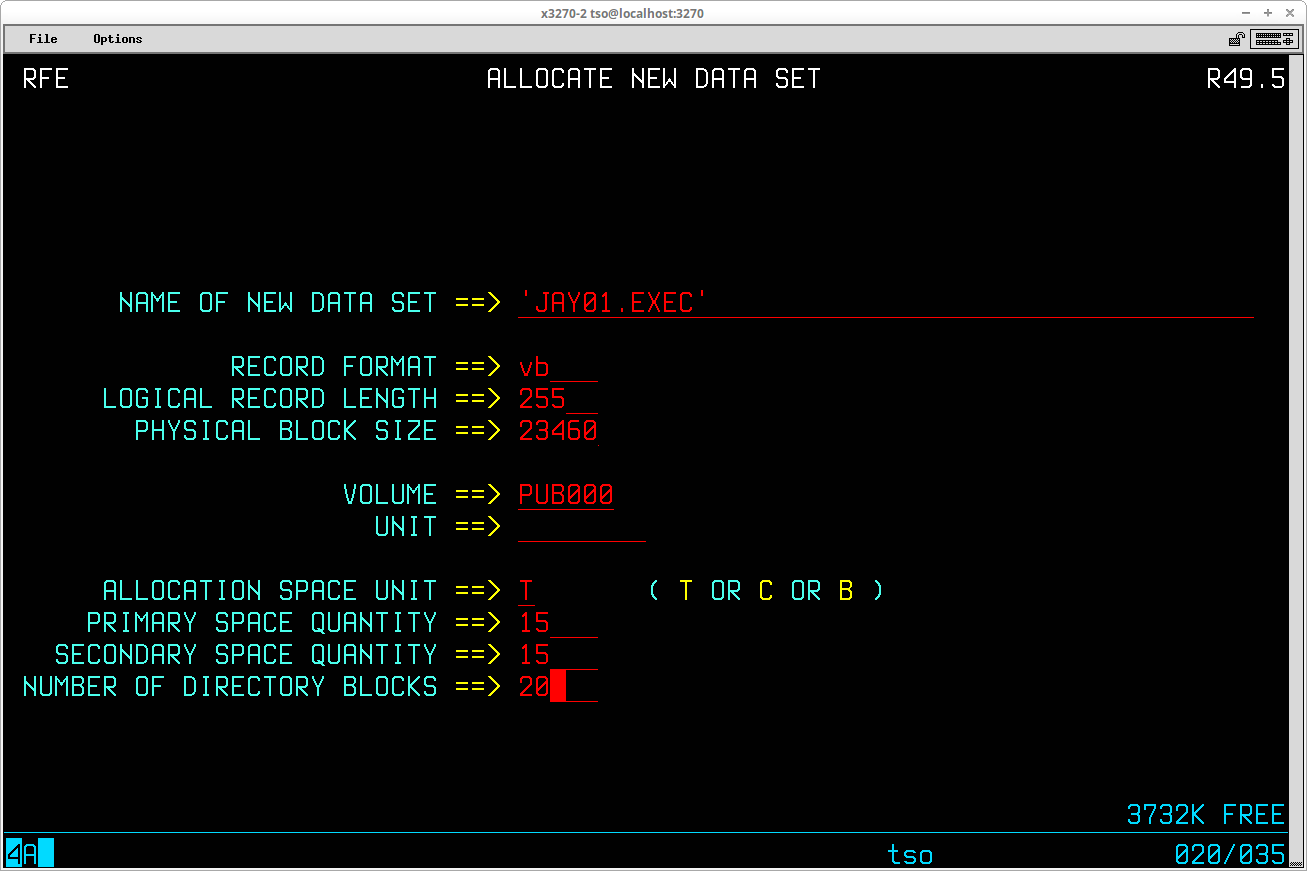
This step is not necessary if you are re-installing to upgrade to a later version. Use RFE (or the method/utility of your choice) to allocate a dataset that will contain REXX scripts you write:
The name of the dataset should be <your TSO User ID>.EXEC; substitute your TSO User ID for <your TSO User ID>. The Record Format should be VB (variable blocked), the LRECL (logical record length) should be 255, and the BLKSIZE (physical block size) should be 23460. This dataset should be allocated on PUB000, which is a 3380 DASD, and is the location of all other datasets created for your TSO User ID. A good space allocation to begin is 15 tracks for primary, 15 tracks for secondary, and 20 directory blocks; this will hold a fairly large number of REXX scripts that you might want to write.
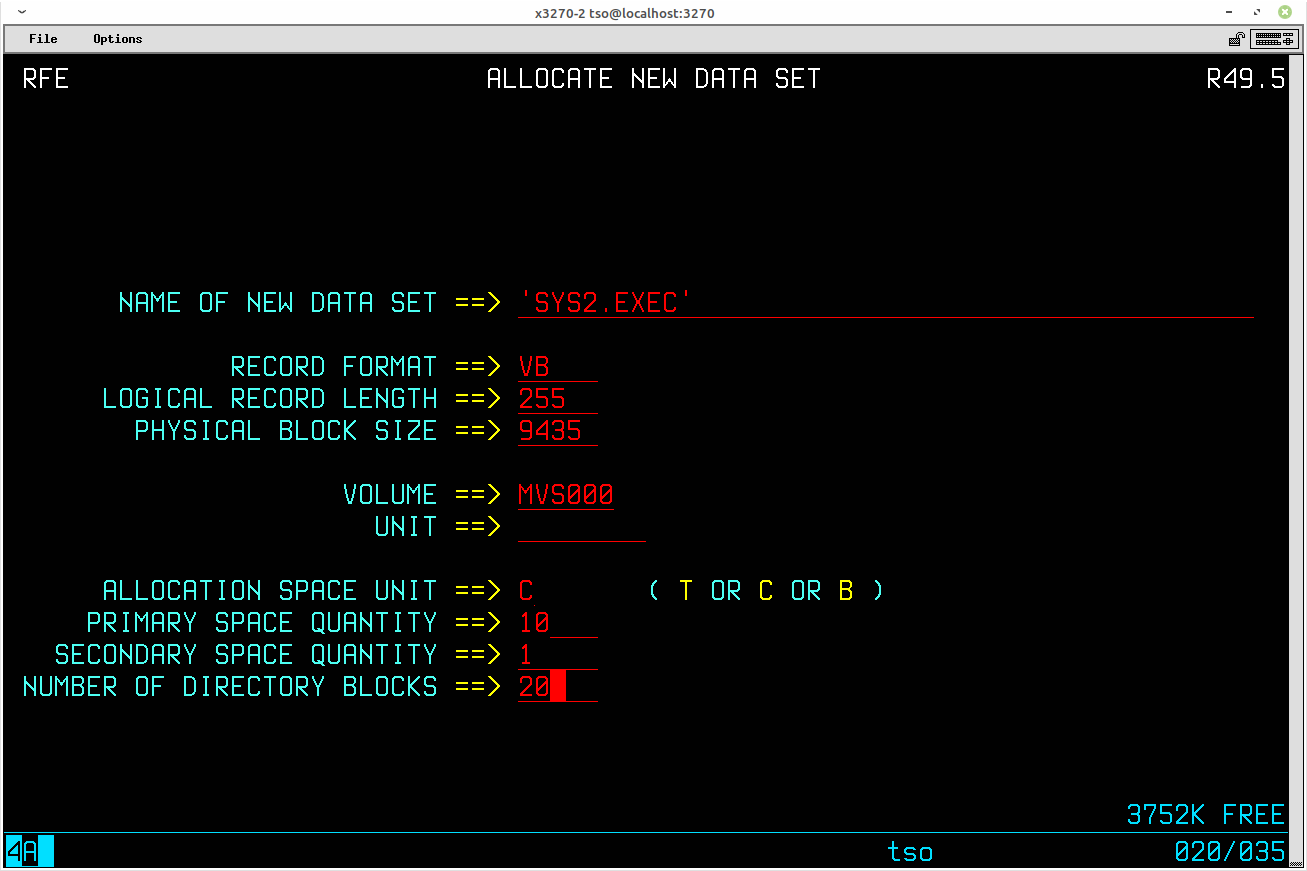
There is no SYS2.EXEC dataset defined in an MVS system built using my instructions. You may want to allocate a SYS2.EXEC dataset, which would be used to hold REXX scripts that would be available to any TSO user on your system. Here is an example of allocating a SYS2.EXEC dataset:
The name of the dataset should be SYS2.EXEC. The Record Format should be VB (variable blocked), the LRECL (logical record length) should be 255, and the BLKSIZE (physical block size) should be 9435. This dataset should be allocated on MVS000, which is a 3350 DASD, and is a location where other system datasets are created. A good space allocation to begin is 10 cylinders for primary, 1 cylinder for secondary, and 20 directory blocks; this will hold a large number of REXX scripts.
In the installation guide document, this is Step #7 - 'ADD BREXX Libraries into TSO Logon'. On an MVS system generated using my instructions, this procedure is contained in SYS1.CMDPROC(TSOLOGON).
Note: If you have already installed a previous version of BREXX370, you will simply need to change the version designation in the RXLIB dataset name, as the allocation statements should already be present in your TSOLOGON member.
Use RPF or RFE to edit SYS1.CMDPROC(TSOLOGON) to make these changes. Here is what the procedure should look like after the changes have been made:
        PROC 0
CONTROL NOMSG,NOLIST,NOSYMLIST,NOCONLIST,NOFLUSH
FREE FILE(SYSHELP)
WRITE Logging on to TSO at &SYSTIME using &SYSPROC
ALLOC FILE(SYSHELP) DSN('SYS1.HELP','SYS2.HELP') SHR
ALLOC FILE(X1) DSN('&SYSUID..CLIST(STDLOGON)') SHR
IF &LASTCC = 0 THEN +
   DO
      WRITE Logging on using private logon procedure
      FREE FILE(SYSPROC)
      FREE FILE(X1)
      ALLOC FILE(SYSPROC) DSN('&SYSUID..CLIST','SYS1.CMDPROC') SHR
   END
ELSE +
   DO
      WRITE Logging on using public logon procedure
      FREE FILE(X1)
   END
/* ENDIF */
/* ALLOCATE SYSEXEC TO SYS2 EXEC */
IF &SYSDSN('SYS2.EXEC') EQ &STR(OK) THEN DO
   FREE FILE(SYSEXEC)
   ALLOC FILE(SYSEXEC) +
      DSN('SYS2.EXEC') SHR
END
/* ENDIF */
/* ALLOCATE SYSUEXEC TO USER EXECS */
IF &SYSDSN('&SYSUID..EXEC') EQ &STR(OK) THEN DO
   FREE FILE(SYSUEXEC)
   ALLOC FILE(SYSUEXEC) +
      DSN('&SYSUID..EXEC') SHR
END
/* ENDIF */
/* ALLOCATE RXLIB IF PRESENT */
IF &SYSDSN('BREXX.V2R5M0.RXLIB') EQ &STR(OK) THEN DO
   FREE FILE(RXLIB)
   ALLOC FILE(RXLIB) +
      DSN('BREXX.V2R5M0.RXLIB') SHR
END
/* ENDIF */
%STDLOGON
EXIT
The lines to be added to the logon procedure are shown highlighted in magenta. Check the changes you make very thoroughly; if you make a serious error you may not be able to log on to TSO to fix the error.
Save the file after the modifications are made, log off TSO and log back on to make the changes effective.
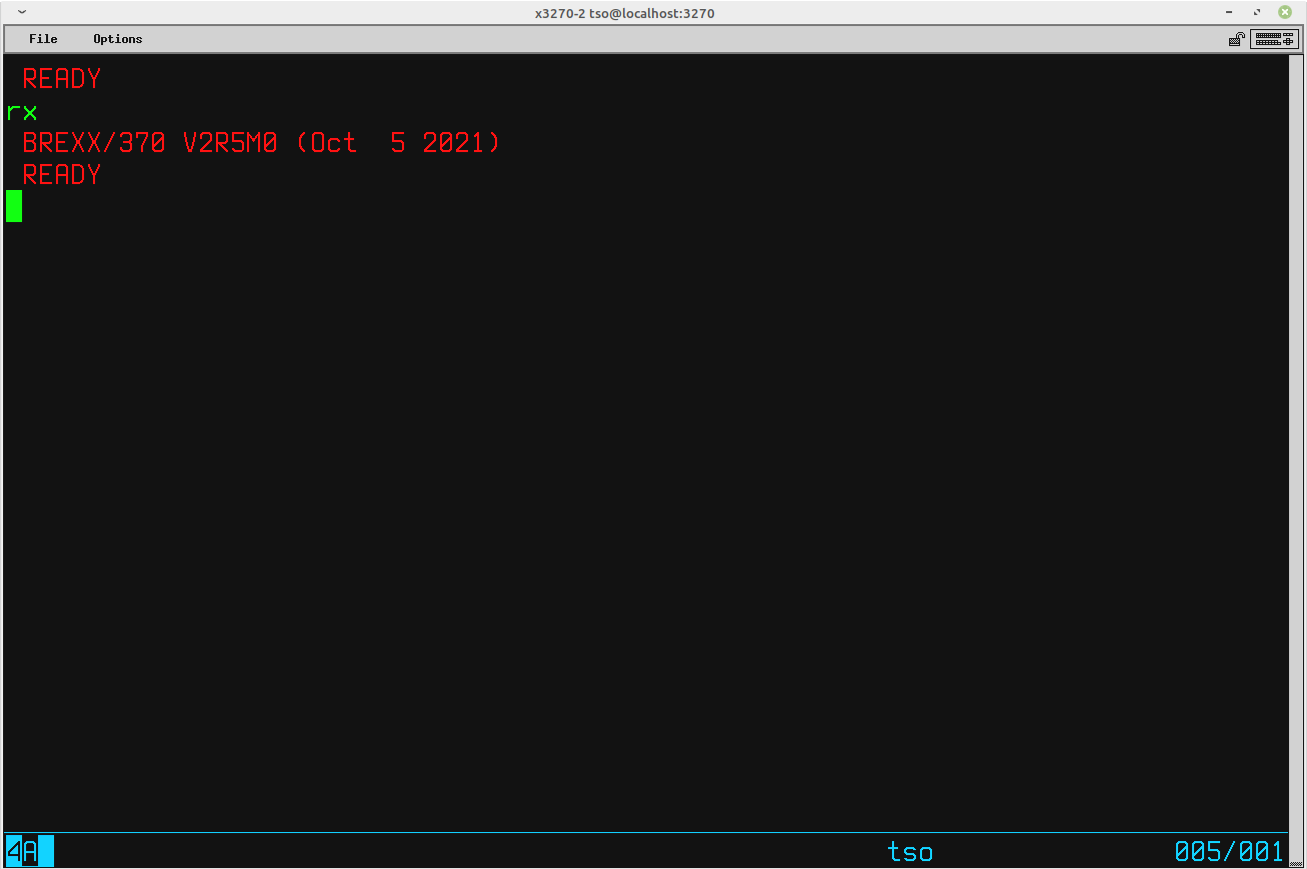
At the conclusion of this step, BREXX370 is installed on your MVS system, which you can verify:
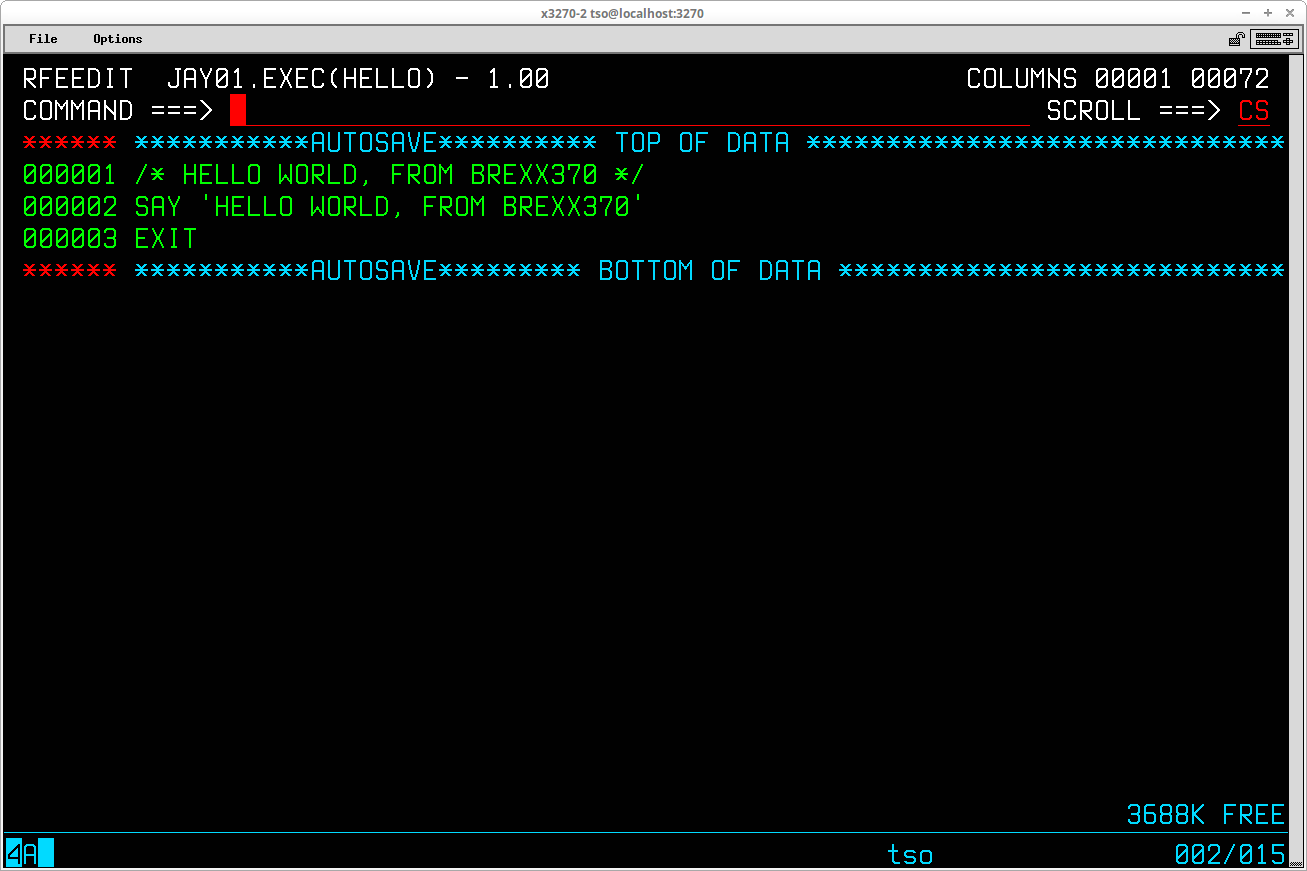
Use RPF or RFE to create a simple REXX script in <your TSO User ID>.EXEC:
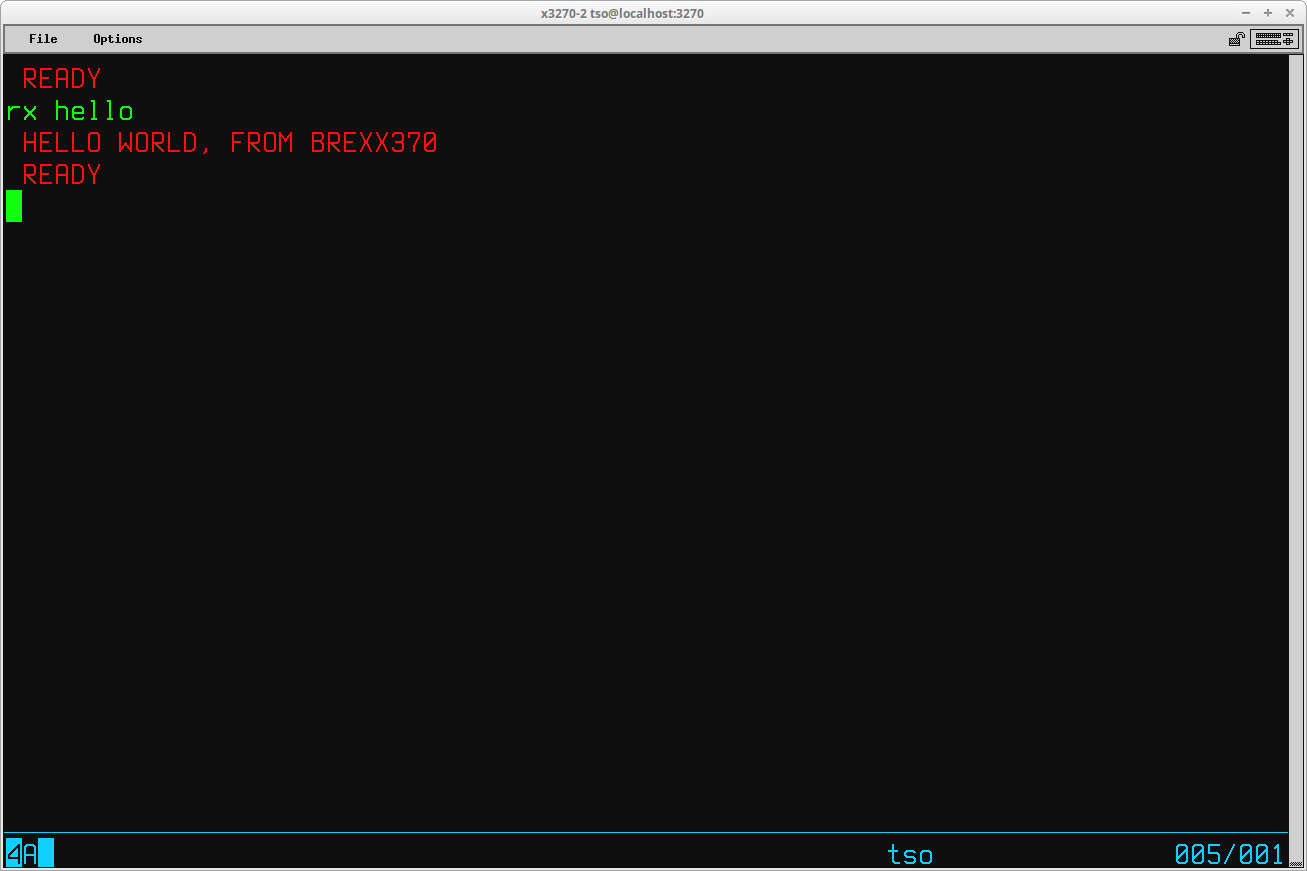
Save the script and execute it from the TSO READY prompt:
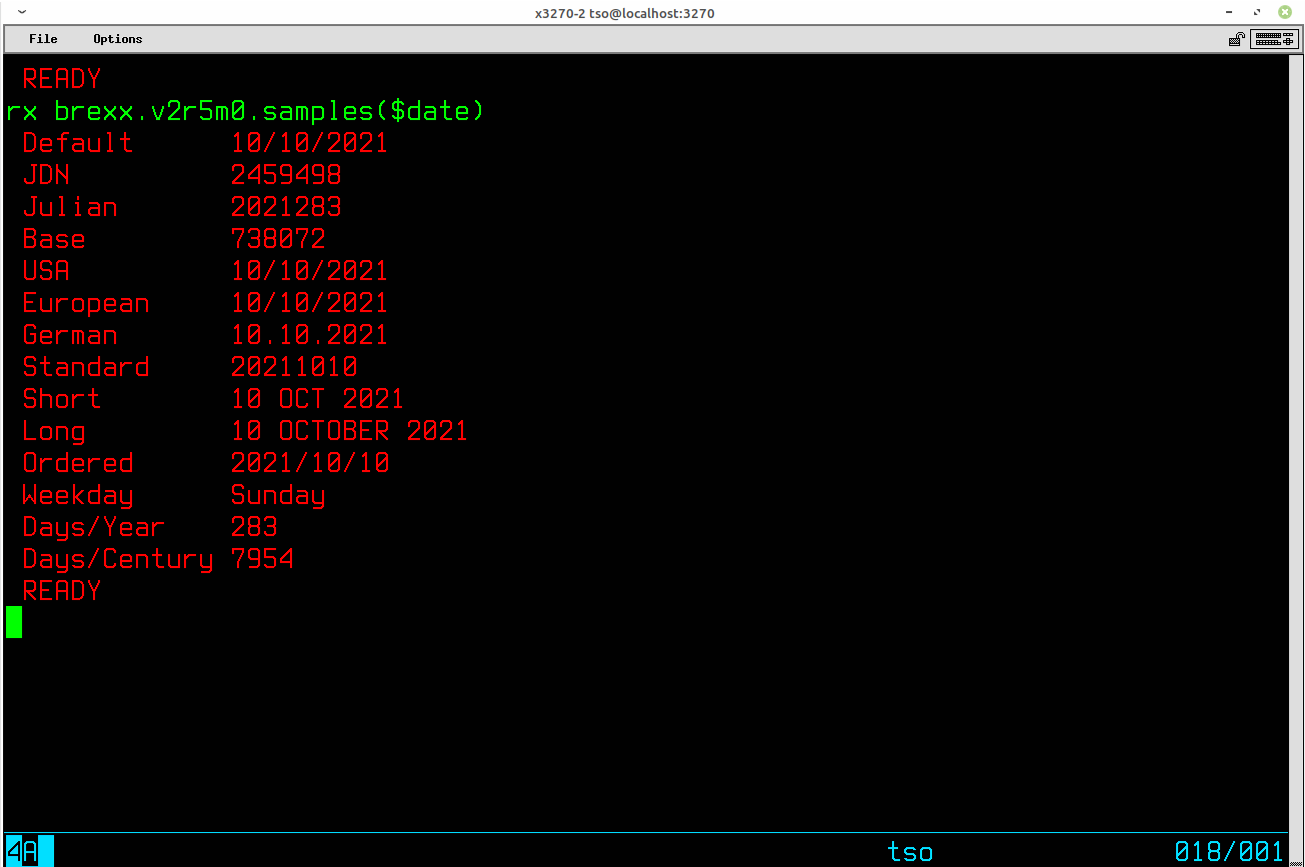
There are a lot of sample REXX scripts in the dataset BREXX.V2R5M0.SAMPLES. You can execute them from the TSO READY prompt:
On October 22, 2021 a patch was issued for this release (V2R5M0). The procedure to apply this patch to your completed installation of BREXX370 V2R5M0 may be viewed at brexx_patch.htm.
I hope that you have found my instructions useful. If you have questions that I can answer to help expand upon my explanations and examples shown here, please don't hesitate to send them to me:

Return to Site Home Page Frequently Asked Questions
This page was last updated on April 30, 2022 .